











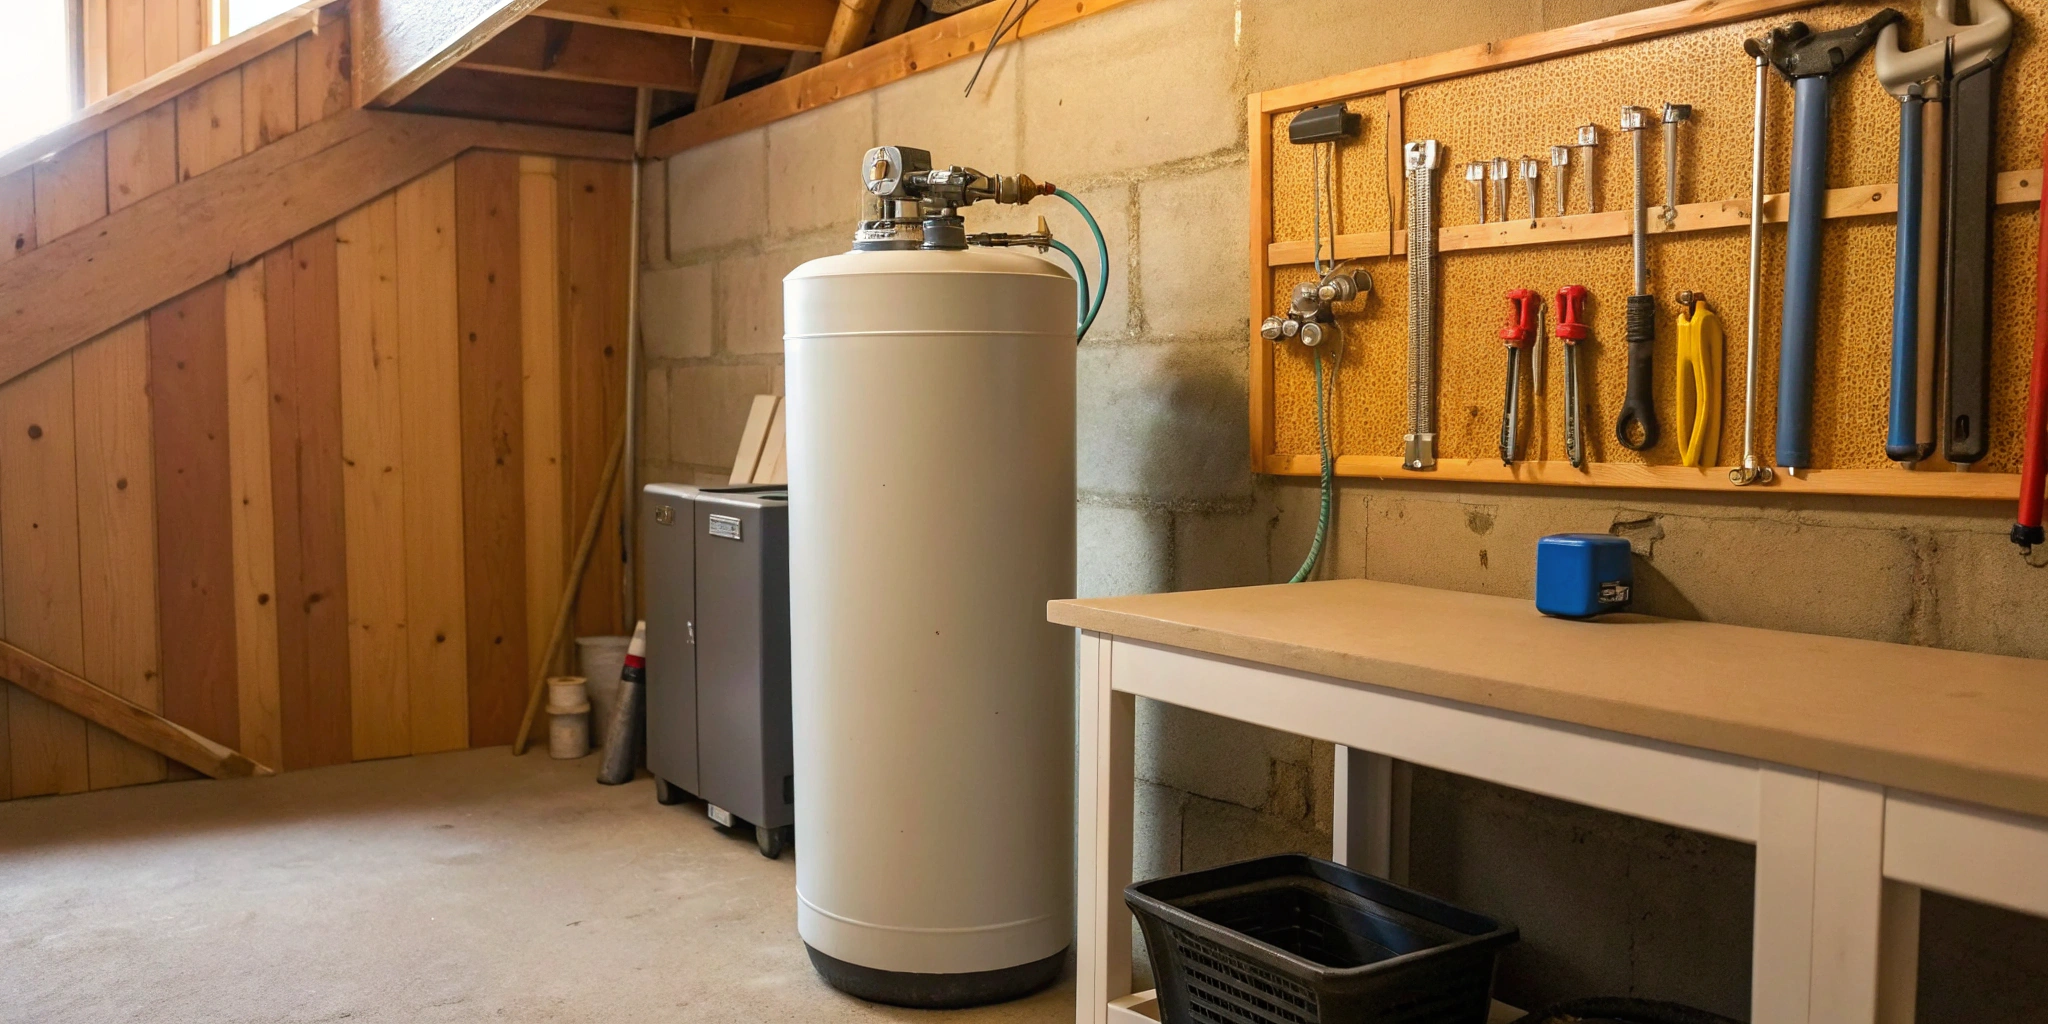
Before you even think about buying a unit or cutting a single pipe, the most critical step in learning how to install a water softener with a well is understanding what’s in your water. Well water is unique to your property and can contain high levels of iron and sediment in addition to the minerals that cause hardness. Skipping the initial water test is the biggest mistake you can make. This guide starts where every successful installation should: with a thorough plan. We’ll explain why professional water testing is essential, how to choose a system that targets your specific water issues, and then walk you through the entire installation process for a solution that’s perfectly tailored to your home.
Key Takeaways
- Test Your Water First: Before buying anything, get a professional lab test to understand your well water’s specific needs, including its exact hardness, iron, and sediment levels.
- Choose the Right Equipment: Use your test results to select a correctly sized softener and install a pre-filter to protect the system from the sediment and iron common in well water.
- Proper Setup and Upkeep are Key: A successful installation means getting the plumbing and programming right from the start, while consistent maintenance like adding salt and cleaning the tank ensures long-term performance.
What Is a Water Softener for a Well?
If your home gets its water from a well, you’re dealing with a completely different water source than city-treated systems. Well water is famous for being “hard,” which simply means it’s packed with minerals it picked up from the ground. While these minerals aren’t harmful to drink, they can cause a lot of headaches around the house. A water softener is a filtration system that connects to your plumbing and removes these excess minerals, turning your hard water into soft water. Think of it as a gatekeeper for your home’s water supply, ensuring everything that flows through your pipes is gentle on your fixtures, appliances, and even your skin. For homeowners in Spokane, managing well water is a key part of maintaining a healthy residential plumbing system.
How a Water Softener Works
So, how does this system actually get the minerals out? Most water softeners use a process called ion exchange. Inside the main tank, there’s a bed of resin beads that are coated in sodium ions. As hard water flows through the tank, the calcium and magnesium ions—the main culprits of hardness—are attracted to the resin beads. They swap places with the sodium ions, so the minerals stick to the beads and the softened water, now with a tiny amount of sodium, flows into your home. Eventually, the resin beads get saturated with hard minerals and need to be cleaned. This is where the regeneration cycle comes in, using a salt-water solution from the brine tank to wash the minerals off the beads and flush them down the drain.
Why You Should Soften Well Water
Well water travels through rock and soil, picking up a high concentration of minerals like calcium, magnesium, and iron along the way. This is what makes it “hard.” Over time, this hard water can cause significant problems in your home. The most common issue is limescale buildup—a chalky, white deposit that clogs your pipes and coats the inside of your appliances. This scale can reduce water flow, decrease the efficiency of your water heater, and ultimately shorten its lifespan. By installing a water softener, you’re not just getting better water; you’re protecting your home’s plumbing infrastructure and preventing costly hot water heater repair down the road.
Signs You Need a Water Softener
You don’t always need a water test to know you have hard water—the signs are usually all around you. Do your dishes come out of the dishwasher with white spots? Is your soap and shampoo not lathering up like it should? That’s hard water. You might also notice your skin feels dry and itchy after a shower or your hair looks dull and lifeless. Your clothes can even feel stiff and scratchy right out of the laundry. Beyond these daily annoyances, look for chalky buildup around your faucets and showerheads. This same scale is building up inside your pipes and appliances, which can lead to clogs and even necessitate water leak repair if left unchecked.
Test Your Well Water Before You Install
Before you even think about buying a water softener, you need to know exactly what’s in your well water. This is the single most important step in the entire process. The quality of well water can be completely different from your neighbor’s, even if your properties are right next to each other. Testing your water first saves you from guessing, which can lead to buying the wrong system, wasting money, and a lot of frustration. Think of it as creating a blueprint for your water treatment plan. By understanding the specific issues in your water, you can choose a solution that targets them effectively, ensuring your home has the best quality water possible. This initial step also protects your other appliances, as untreated well water can cause significant wear and tear on your hot water heater and other fixtures.
DIY Kits vs. Professional Lab Testing
You might see DIY water testing kits at the hardware store, and while they can give you a basic idea of your water’s hardness, they often lack the accuracy and detail you need. For a truly reliable analysis, I always recommend sending a sample to an independent professional lab. The biggest advantage here is that labs have no stake in selling you a particular piece of equipment. Their job is simply to give you the facts. This unbiased report is crucial for making an informed decision. A professional test will provide precise measurements of minerals and contaminants, giving you the confidence that you’re addressing the right problems from the start.
What to Measure in Your Water
When you send your water sample to a lab, you’ll want to request a test for a few key things. This information will directly influence the type and size of the water softener you need. Make sure your report includes:
- Hardness: This measures the amount of dissolved calcium and magnesium in your water. It’s typically reported in Grains Per Gallon (GPG). This number is the most critical factor in choosing and sizing your softener.
- Iron: Well water often contains iron, which can cause reddish-brown stains on your fixtures and laundry. The lab can tell you how much iron is present and in what form.
- Sediment: This refers to any sand, silt, or other particles suspended in your water. High sediment levels can clog your plumbing and appliances.
- Microbes: It’s always a good idea to test for bacteria like coliform to ensure your water is safe to drink.
How to Read Your Water Test Results
Once you get your lab results back, you’ll have a clear picture of your water’s chemistry. This report is your guide to selecting the right equipment. For example, the GPG number will tell you how powerful your water softener needs to be. High iron levels might mean you need a specialized iron filter or a softener designed to handle it. If the test shows significant sediment, you’ll know to install a sediment pre-filter to protect your new softener from getting clogged. By matching the solution to the problem, you ensure your residential plumbing system runs efficiently and you only invest in the equipment you truly need.
Choose the Right Water Softener for Your Well
Once you have your water test results, you can find a softener that’s built to handle the specific needs of your well. Well water often contains more than just the calcium and magnesium that cause hardness—it can also have high levels of iron, sediment, and other minerals. Choosing the right system isn’t just about getting softer water; it’s about protecting your pipes, appliances, and fixtures for the long haul. Let’s walk through the key factors to consider so you can pick the perfect unit for your home. Whether you are protecting a residential well or need a commercial plumber in Spokane, WA for a larger facility, water softening is key to longevity.
Salt-Based vs. Salt-Free Systems
The first major choice you’ll make is between a salt-based and a salt-free system. Salt-based softeners are the most common type and work through a process called ion exchange, where they physically remove hard minerals and replace them with sodium ions. This is the most effective way to treat very hard water. On the other hand, salt-free systems, often called water conditioners, don’t actually remove the minerals. Instead, they use technology to change the minerals’ structure so they can’t stick to surfaces and form scale. While they require less maintenance since you don’t have to add salt, they are generally less effective on water with very high hardness or significant iron content.
How to Size Your System
Getting the right size softener is critical for efficiency and performance. A system that’s too small will struggle to keep up, while one that’s too large will waste salt and water. To find the right size, you’ll need two numbers: your household’s daily water usage and your water’s hardness level. First, calculate your daily water use by multiplying the number of people in your home by 75 gallons (the average per person). Then, take the hardness value from your water test, measured in grains per gallon (gpg). Multiply your daily water use by the gpg to find the daily softening requirement. For example, a family of four using 300 gallons per day with 10 gpg hardness needs a softener that can handle 3,000 grains per day.
Handling Iron and Sediment in Well Water
Well water is notorious for containing iron and sediment, which can clog your softener and reduce its effectiveness. Before you buy anything, your water test results will tell you exactly what you’re dealing with. If you have high levels of iron, look for a water softener specifically designed to remove it, or consider installing a dedicated iron filter before the softener. Similarly, a sediment pre-filter is a must for most well water systems. This simple filter captures sand, silt, and other debris before it can enter and damage your water softener and other residential plumbing. Taking this extra step protects your investment and ensures your system works properly.
Dual-Tank and High-Capacity Options
For homes with very hard water or larger families, a dual-tank water softener is an excellent choice. These systems have two resin tanks, so while one is in use, the other can be regenerating. This means you have a continuous supply of soft water, 24/7, without any downtime. This is especially useful for well water, which often has higher mineral content that requires more frequent regeneration cycles. A dual-tank system ensures your water heater installation and other appliances are always protected from scale buildup, giving you peace of mind and consistent performance.
Gather Your Tools and Materials
Before you start cutting any pipes, let’s get organized. Taking the time to gather all your tools and materials in one place will make the installation process much smoother and save you from making multiple trips to the hardware store. Think of it as your pre-project checklist. Having everything you need within arm’s reach means you can focus on the task at hand without any interruptions. A little preparation now will help you get the job done right and avoid any unnecessary stress.
Required Plumbing Tools
You don’t need a professional-grade workshop, but a few key tools are essential for a successful installation. Most of these are probably already in your toolbox. Here’s a quick list of what you’ll want to have ready:
- Adjustable wrenches and pipe wrenches
- Channellock pliers
- Tape measure
- PEX pipe cutter or a hacksaw
- A set of screwdrivers
- Teflon tape for sealing threaded connections
- A small bucket and a towel for catching drips
You’ll also need the right pipes and fittings to connect the softener to your main water line, which could be PVC tubing or flexible water lines depending on your setup.
Essential Safety Gear
Safety first, always. While installing a water softener is a manageable DIY project, you’re still working with tools and plumbing. Protect yourself by wearing a pair of work gloves to get a better grip and protect your hands from sharp edges. It’s also a great idea to wear safety goggles. You never know when a stray splash of water or a small piece of debris might head toward your eyes. It only takes a second to put them on, and it’s a simple step that ensures you stay safe throughout the project.
Pick the Right Installation Spot
Where you put your water softener matters. You’ll want to install it near the main water shut-off valve, before the line splits off to your water heater. This ensures all the water in your home, both hot and cold, gets treated. Choose a spot that is level, dry, and protected from freezing temperatures. Also, think about future you. Pick a location with enough space around it to make future maintenance, like adding salt, easy to manage. If your ideal spot requires significant rerouting of your existing pipes, it might be time to call in a professional for residential plumbing services.
Check Your Electrical and Drainage Needs
Your water softener needs two things to function: power and a place to drain. Most systems require a standard, nearby electrical outlet to power the control valve and regeneration cycles—a GFCI (ground-fault circuit interrupter) outlet is best for safety in potentially wet areas. The system also needs to flush out the collected minerals during its regeneration cycle, so it must have access to a drain. A utility sink, floor drain, or standpipe are all good options. Confirm you have both of these in your chosen spot before you begin the installation.
Your Step-by-Step Installation Guide
Alright, you’ve done your research, picked your system, and gathered your tools. Now it’s time for the main event. Installing a water softener involves cutting into your main water line, so it’s important to work carefully and methodically. We’ll walk through the process one step at a time. Remember to follow your specific model’s instruction manual closely, as details can vary. If you ever feel like you’re in over your head, don’t hesitate to call in a professional. A small mistake can lead to a big mess, and we’re here to help with any residential plumbing needs you have.
Shut Off the Water and Prep the Area
First things first: safety and preparation. Before you touch a single pipe, locate your home’s main water shut-off valve and turn it completely off. To ensure the lines are empty, open a faucet on the lowest level of your house (like a basement sink) and the highest level (like an upstairs shower) to drain all the remaining water from the pipes. This is also a good moment to double-check that your chosen installation spot is level, dry, and close to a drain and a suitable electrical outlet. Clearing the area of any clutter will give you plenty of room to work comfortably and safely.
Connect the Softener to Your Plumbing
Now you’ll connect the softener to your home’s water supply. This usually involves cutting into the main water line after it enters your house but before it splits off to the water heater. You’ll install new piping to direct the incoming hard water into the softener’s inlet port and run another pipe from the outlet port back to the main line. It’s critical to use the correct size pipes to match your home’s plumbing and the softener’s connections. A mismatch can cause pressure issues or lead to frustrating leaks. A proper plumbing leak repair is much more involved than getting the connection right the first time.
Set Up the Drain and Electrical Connections
Your water softener needs a way to dispose of the wastewater from its regeneration cycles. You’ll need to run two drain tubes from the unit to a nearby floor drain, utility sink, or standpipe. The main drain line handles the backwash water, while the overflow line acts as a safety measure in case the brine tank gets too full. Make sure there’s an air gap between the end of the tube and the drain to prevent back-siphoning. Once the plumbing is set, plug the unit into a standard 110V electrical outlet that provides continuous power—it shouldn’t be connected to a switch.
Install Bypass and Pressure Relief Valves
Most water softeners come with a bypass valve, which is an essential component. This valve allows you to divert water around the softener system whenever you need to perform maintenance or if you want to use unsoftened water for tasks like watering your lawn. Install the bypass valve according to the manufacturer’s directions, ensuring all connections are secure. Once everything is connected, you can slowly turn the main water supply back on. Carefully inspect every new pipe and fitting for drips or leaks. Tighten any connections as needed until the system is completely watertight before moving on to programming.
Program and Test Your New System
You’ve done the heavy lifting, and now it’s time for the final, crucial steps: programming and testing. This is where you tell your new water softener exactly what to do and then confirm it’s doing its job correctly. Taking the time to get this part right ensures you’ll get the soft water you’ve been waiting for and that your system will run efficiently for years to come. Don’t rush through these final checks—they are your key to a successful installation and peace of mind.
Complete the Initial Setup and Programming
Think of this as teaching your water softener about your home’s specific needs. The most important piece of information you’ll program is your water hardness level, which you found during your initial water test. This setting tells the system how much salt to use and how often it needs to clean itself, a process called regeneration. You’ll also set the time of day for the regeneration cycle—most people choose the middle of the night when no one is using water. Your owner’s manual is your best friend here; follow its start-up instructions to the letter for a smooth setup.
Run the First Regeneration Cycle
With your settings programmed, it’s time for a test run. Before you begin, make sure the bypass valve is closed so water flows into the softener, not around it. Then, slowly turn your main water supply back on. As the tank fills, listen for running water and carefully check every connection point for drips. Even a tiny drip can lead to bigger problems, so if you spot one, you may need to tighten a fitting. If you find a persistent leak you can’t solve, it’s wise to call for professional water leak repair. Once you’re confident everything is watertight, start the first regeneration cycle through the control panel.
Test Your Water Quality Post-Installation
How do you know if all your hard work paid off? You test the water again. Using another simple test strip or kit, check a water sample from a faucet inside your house. Comparing this new result to your pre-installation test will show you exactly how much the softener has reduced the hardness. This final check confirms that your system is working as it should and is properly calibrated to handle your well water. If the results aren’t what you expected, double-check your programming or consider getting a professional opinion on your residential plumbing setup.
Common Installation Mistakes to Avoid
Installing a water softener can be a rewarding DIY project, but a few common missteps can turn it into a major headache. Even if you’re handy with tools, it’s easy to overlook a small detail that could lead to leaks, damage, or a system that just doesn’t work correctly. Taking the time to get these details right from the start will save you from costly repairs and ensure you get the soft water you’re looking for.
We’ll walk through the most frequent installation errors we see, from picking the wrong size unit to skipping essential prep work for well water. By understanding these potential pitfalls, you can approach your installation with confidence and get the job done right the first time. If you run into any trouble, remember that our team is always here to help with any residential plumbing needs.
Incorrect Sizing and Plumbing Connections
One of the first places a DIY installation can go wrong is with sizing. If you don’t test your water’s hardness before buying a unit, you might end up with a softener that’s too small to handle your needs or too large to be efficient. An incorrectly sized system can regenerate too often or not enough, wasting salt, water, and money. Another common trip-up is using the wrong pipe sizes for your connections. Your home’s plumbing and the softener’s connection ports must match perfectly. Using mismatched or improperly sealed fittings is a surefire way to cause water leak repair issues and reduce your water flow.
Electrical Hazards and Programming Errors
Your water softener needs electricity to run its regeneration cycles, and this is where safety is paramount. Always plug the unit into a properly grounded, GFCI-protected outlet, especially since it’s operating near water. Make sure all electrical connections are secure and protected from moisture to prevent any hazards. Once it’s safely plugged in, you have to program it. This step is crucial for the softener to function correctly. Rushing through the manufacturer’s instructions can lead to programming errors that cause the system to work inefficiently or not at all. Double-check your settings for water hardness and regeneration times to make sure your softener is optimized for your home’s specific needs.
Skipping Pre-Filtration for Your Well
Well water isn’t like city water—it often contains sediment, iron, and other contaminants that can wreak havoc on a water softener. A huge mistake is connecting a softener directly to your well line without a pre-filter. All that grit and debris can clog the softener’s resin bed and internal valves, leading to expensive damage and a much shorter lifespan for your unit. Before you even think about buying a softener, you need to test your well water. This will tell you exactly what’s in it, so you can install the right kind of sediment or iron filter upstream from your softener. This extra step protects your investment and ensures your system runs smoothly for years.
Keep Your System Running Smoothly: A Maintenance Checklist
Now that your water softener is installed, a little routine care will keep it working efficiently for years to come. Just like any other important home appliance, your softener needs regular attention to perform its best. Staying on top of a few simple tasks prevents bigger problems down the road and ensures your family continues to enjoy the benefits of soft water. This checklist breaks down the essential maintenance steps to protect your investment and keep your system in top shape.
Monitor and Refill Salt Levels
The salt in your brine tank is the fuel for your water softener. During the regeneration cycle, the system uses the salt solution to clean the resin beads that capture hard minerals. You should check the salt level every four to six weeks to make sure it doesn’t run out. A good rule of thumb is to keep the tank at least half full of salt, but avoid filling it to the very top, as this can cause “bridging,” where a hard crust forms and prevents salt from dissolving. If you notice your water is starting to feel hard again, the first thing you should check is the salt level.
Follow a Cleaning and Sanitizing Schedule
At least once a year, it’s a good idea to give the brine tank a thorough cleaning. Over time, sediment and impurities can build up inside. To clean it, you’ll need to empty all the salt and water from the tank. Then, give the inside a good scrub with warm, soapy water and rinse it out. To sanitize the tank, you can use a simple solution of a quarter cup of household bleach mixed with two or three gallons of water. Let the solution sit for about 15 minutes before dumping it and rinsing the tank completely. This simple step keeps your system clean and running effectively.
Your Annual Maintenance Checklist
Beyond refilling salt and cleaning the tank, a quick annual inspection can catch small issues before they become major headaches. Here’s a simple checklist to follow:
- Clean the brine tank: Follow the steps outlined above to remove any sediment.
- Check for salt bridges: Use a broom handle to gently break up any hard crusts of salt that have formed inside the tank.
- Inspect the venturi valve: This valve creates the suction needed to move brine into the resin tank. It can sometimes get clogged with debris, so check your owner’s manual for instructions on how to clean it.
- Look for leaks: Check all the fittings and connections for any drips. If you spot a problem, it’s best to call for a professional water leak repair to get it fixed properly.
When to Call Action Craft Experts for Help
While most routine maintenance is straightforward, some jobs are best left to the professionals. If your system is making unusual noises, you’re still getting hard water after trying basic troubleshooting, or you’re seeing error codes on the display, it’s time to call for help. Trying to fix complex mechanical or electronic issues yourself can sometimes lead to more expensive damage. Our team of licensed and insured technicians can diagnose the problem quickly and get your system back online. For any issues beyond basic upkeep, you can count on us for reliable residential plumbing services in Spokane.
Related Articles
- 6 Steps: Install a Water Softener (Pre-Plumbed)
- 7 Key Benefits of a Whole House Water Softener
- How Much to Install a Water Softener? 2025 Cost Guide
Frequently Asked Questions
Will a water softener make my drinking water taste salty? This is a very common concern, but the answer is no. While a salt-based softener uses sodium in its process, it’s not the same as adding table salt to your water. The ion exchange process adds a very small, proportional amount of sodium. For most people, the change is completely unnoticeable in taste. The amount of sodium is often less than what you’d find in a slice of white bread.
How often will I really need to add salt to the system? How frequently you’ll need to buy those heavy bags of salt depends on your water’s hardness and how much water your household uses. For an average family, you can expect to refill the brine tank every six to eight weeks. The best habit is to simply take a peek at the tank once a month to see where the level is. Keeping it about half-full is a great rule of thumb.
Is a water softener the same as a whole-house water filter? They solve different problems, though they can work together as a team. A water softener is a specialist designed for one job: removing the minerals like calcium and magnesium that make water hard. A water filter, on the other hand, is designed to remove other things like sediment, chlorine, iron, or bacteria to improve taste, smell, and safety.
My well water has a lot of iron. Is a standard water softener enough? It depends on how much iron you have. Most standard water softeners can handle small amounts of iron, but high concentrations can overwhelm the system and damage the resin bed over time. Your water test results are key here. If you have significant iron levels, the best solution is often an iron filter installed just before the water softener to protect your investment and ensure both systems work correctly.
Can I still water my lawn and garden with softened water? It’s generally not recommended to use softened water for your outdoor plants and lawn. The small amount of sodium in the water can build up in the soil over time and isn’t healthy for most plants. This is where the bypass valve comes in handy. You can use it to temporarily bypass the softener when you’re using an outdoor spigot for watering.